Pre-Registration Tutorial (Mobile Device)
Check the Academic Calendar for registration dates.
This walk-through is for Mobile users who have not yet established an Academic Plan.
Desktop Tutorial (without a Plan)
Step Listing
- Login to Registration Self-Service
- Select Your Term
- Click on 'Panels'
- Open Menu
- Find Your Classes
- Add Classes
- Verify and Submit
- SUCCESS!
Step-by-Step Directions
(Click images to enlarge)
Step 1: Login to Registration Self-Service
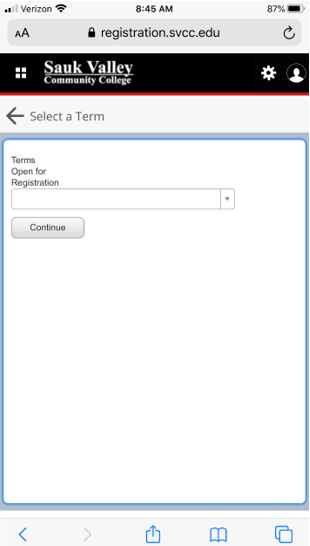
Login with your Sauk Login at: https://registration.svcc.eduStep 2: Select Your Term
If prompted for an Alternate PIN:- Enter the PIN provided by your Academic Advisor
- If you do not have an Alternate PIN, contact your Academic Advisor or 815-835-6354
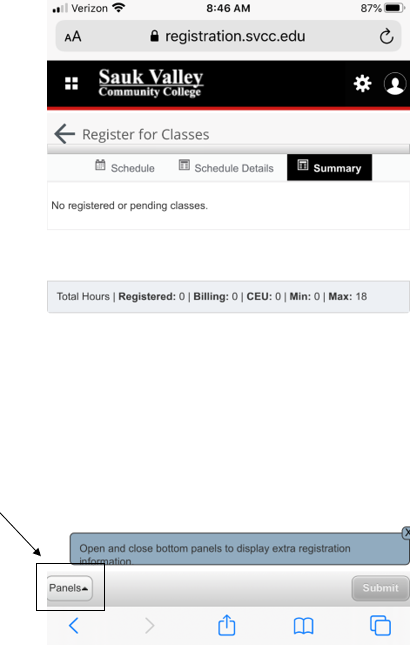
Step 3: Click on 'Panels'
Click on Panels in the bottom left corner.Step 4: Open Menu
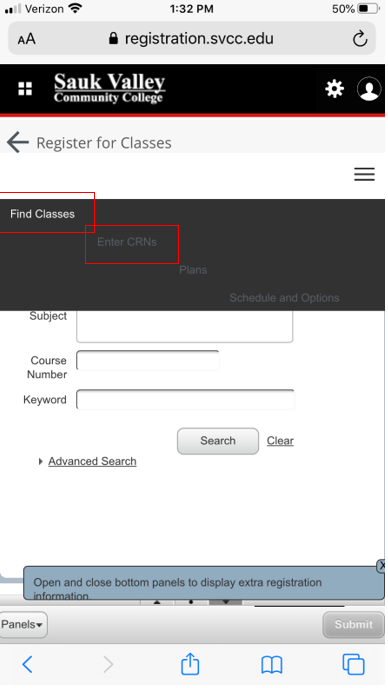
Step 5: Find Your Classes
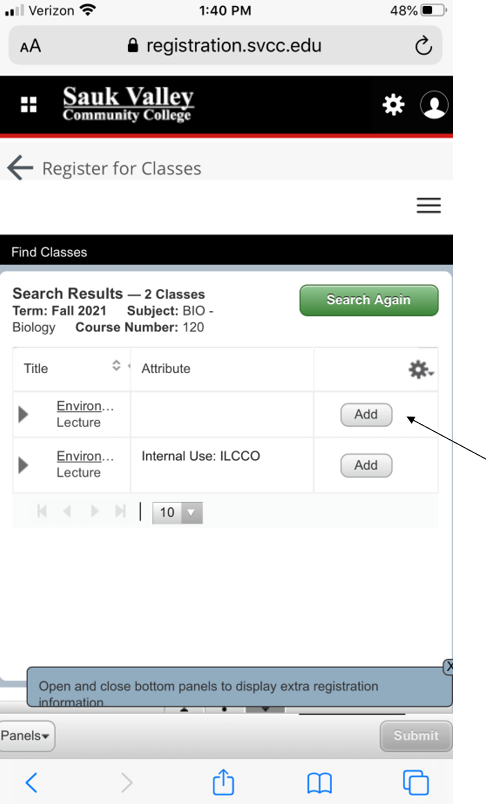
You can either search by selecting Find Classes or if you know the CRN’s (course reference number) you can select Enter CRN’s.Step 6: Add Classes
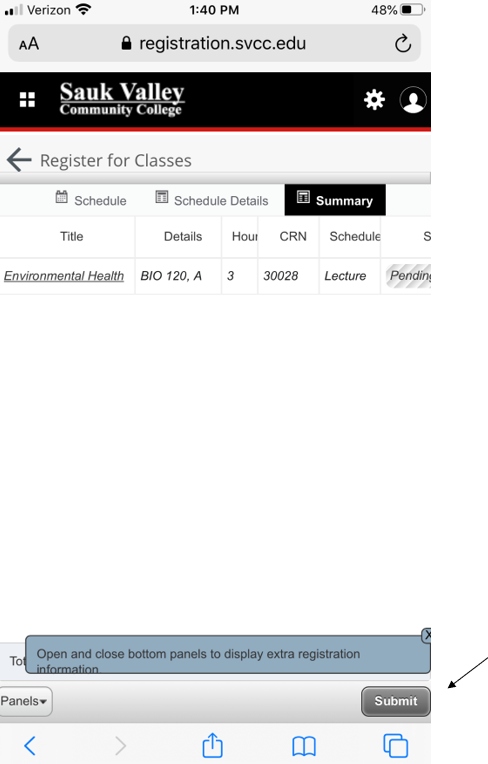
Once you find the desired class, click Add. Keep doing so until all of the classes you need to register for display.Step 7: Verify and Submit
It will show the classes with a status of Pending. You will then click Submit in the bottom right corner to register.Step 8: SUCCESS!
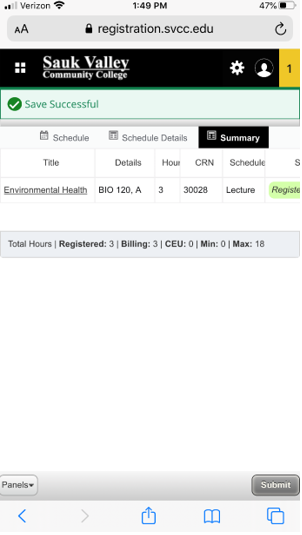
Once submitted, the top right corner will display any messages. It is important to verify that it comes up in a green box that says Save Successful.
Any error message will pop up in a blue box and will indicate what the error is. The summary box* will also show which classes were registered successfully and which ones have errors (*Click Panels in the bottom left corner again and it will take you to the Summary where it will show “Registered” or any other messages next to the classes)

Take the Next Step!
Ready for more? You might want to check out the following tutorial(s) that build on this one.