Online Registration & Waitlisting Tutorial
Check the Academic Calendar for registration dates.
Portions of this tutorial are based on other tutorial(s). You may want to review the following link(s) before continuing.
Step Listing
- To Begin Registering For Classes Online
- Select Term
- Search For Classes
- Select A Class
- Search for Another Class
- Verify Your Class List
- Remove A Class
- Waitlist Registration
Step-by-Step Directions
(Click images to enlarge)
Step 1: To Begin Registering For Classes Online
Open your browser (Google Chrome is recommended) and proceed to https://registration.svcc.edu. You can use other options for other purposes within this screen, for this walkthrough we will continue through the registration process by selecting Register for Classes.Step 2: Select Term
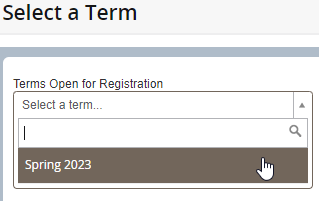
Select the Term you wish to proceed with registration - This dropdown will show a list of available semesters to register for classes. If you don’t see the semester in which you want to register, verify registration is open or contact student services by calling (815) 835-6354. Click continue once you’ve selected your term.Step 3: Search For Classes
Search for the class or classes you wish to register for the semester you’ve selected - You can search for your classes by entering a subject and searching. Course number is not required, but will lower the amount of results upon searching. If you are unsure of the subject abbreviation, you can click within the subject box to receive a dropdown of options available.
Step 4: Select A Class
Now you will select the class in which you wish to enroll from the list - You will see a list of classes available based on the subject selected, adding course number will reduce the amount of results. Select the class you wish to take by clicking add.Step 5: Search for Another Class
If you wish to enroll for multiple classes within different subjects - After adding the class from the list you wish to enroll for you can return to step 5 by selecting Search Again. Once you've added all the classes you wish to register for proceed to Step 6.Step 6: Verify Your Class List
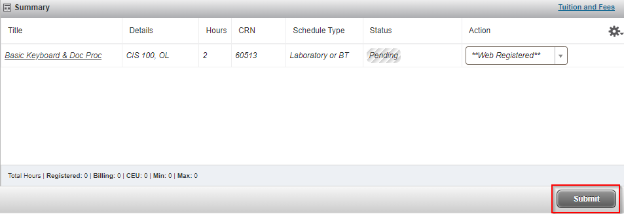
Final verification before enrolling - After adding all the classes you wish to take for the semester, verify your schedule in the lower right hand corner, if everything is correct you will select Submit. If you need to remove a class from the list for any reason you can change to Action dropdown to remove as shown in image two.Step 7: Remove A Class
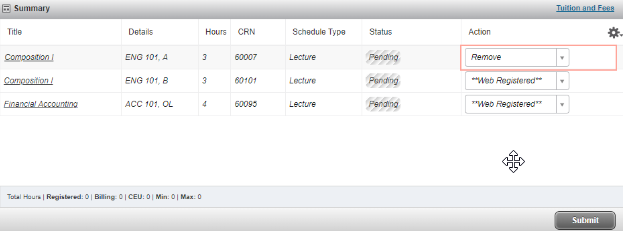
If you would like to remove a class from your registration - If you decide to remove a class from your registration list you will change the action dropdown from Web Registered to remove and proceed with the steps as shown.Step 8: Waitlist Registration
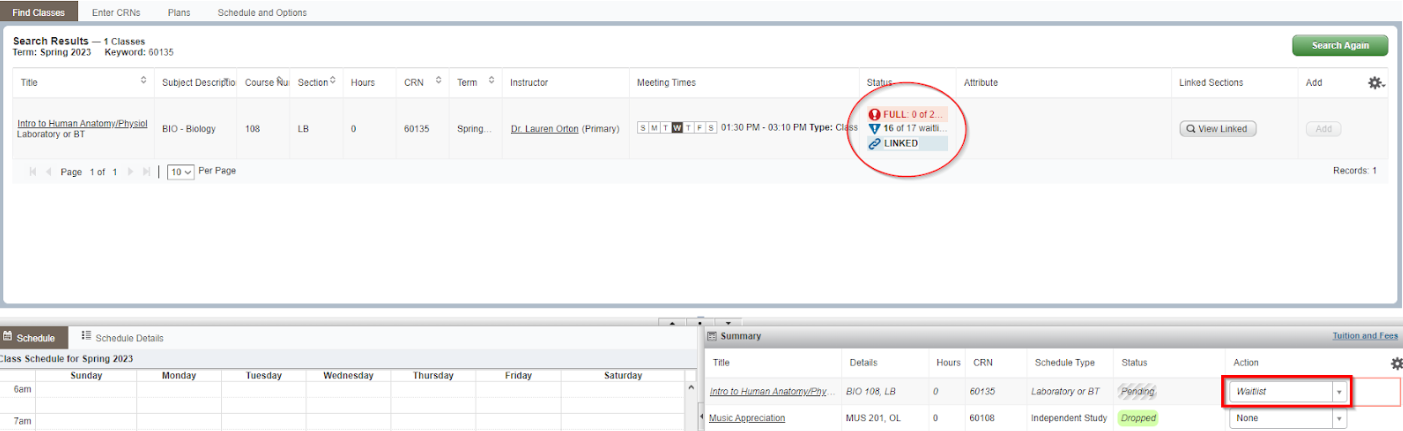
Registering for a waitlist class - Proceed with registration as normal with waitlisted classes. Prior to submitting you will need to change the action dropdown to waitlist. Once you’ve been added to the waitlist you will receive an email when you are able to enroll. You will have 24 hours to proceed to Step 6 and change the action from Waitlist to Web Registered and select Submit.